Checklists steps widget
About
Need to display a step-by-step process? The checklists steps widget is perfect for organizing a series of actionable steps in a linear, numbered process. This content type can be used on its own or as part of checklist phases.
 NOTE: This is a reusable content type widget, which means it is dependent
upon content you've first created as a content type from the dashboard menu.
Design
1
Lorem ipsum dolor sit amet, consectetur adipiscing elit, sed do eiusmod tempor incididunt ut labore et dolore magna aliqua. Ut enim ad minim veniam, quis nostrud exercitation ullamco laboris nisi ut aliquip ex ea commodo consequat. Duis aute irure dolor in reprehenderit in voluptate velit esse cillum dolore eu fugiat nulla pariatur. Excepteur sint occaecat cupidatat non proident, sunt in culpa qui officia deserunt mollit anim id est laborum.
2
Step 2
Lorem ipsum dolor sit amet, consectetur adipiscing elit, sed do eiusmod tempor incididunt ut labore et dolore magna aliqua. Ut enim ad minim veniam, quis nostrud exercitation ullamco laboris nisi ut aliquip ex ea commodo consequat. Duis aute irure dolor in reprehenderit in voluptate velit esse cillum dolore eu fugiat nulla pariatur. Excepteur sint occaecat cupidatat non proident, sunt in culpa qui officia deserunt mollit anim id est laborum.
Password Protected Example Button
3
Step 3
Lorem ipsum dolor sit amet, consectetur adipiscing elit, sed do eiusmod tempor incididunt ut labore et dolore magna aliqua. Ut enim ad minim veniam, quis nostrud exercitation ullamco laboris nisi ut aliquip ex ea commodo consequat. Duis aute irure dolor in reprehenderit in voluptate velit esse cillum dolore eu fugiat nulla pariatur. Excepteur sint occaecat cupidatat non proident, sunt in culpa qui officia deserunt mollit anim id est laborum.

How to
Create the steps
Go to the Content tab in the dashboard and select Checklists.

Click Create a Checklist. This is basically a folder for a group steps.

Provide a title and description for the checklist steps and publish.
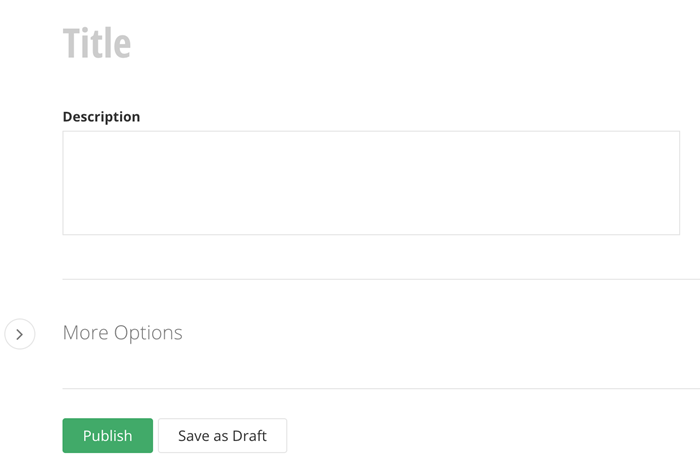
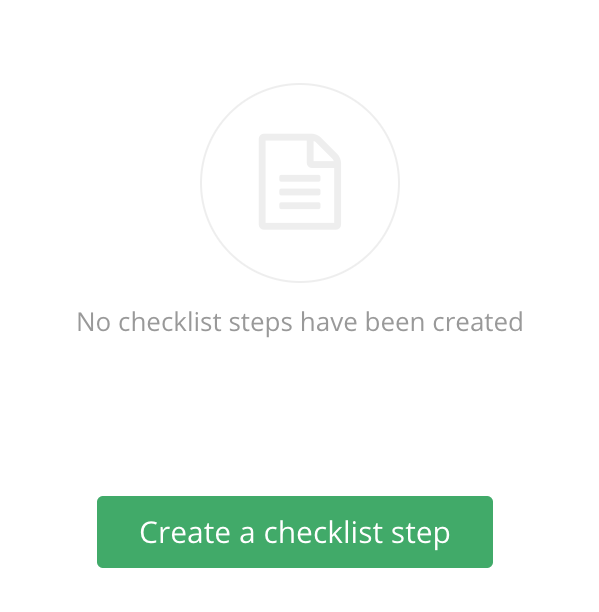
Open the checklist step and select the option to Create a Checklist Step.
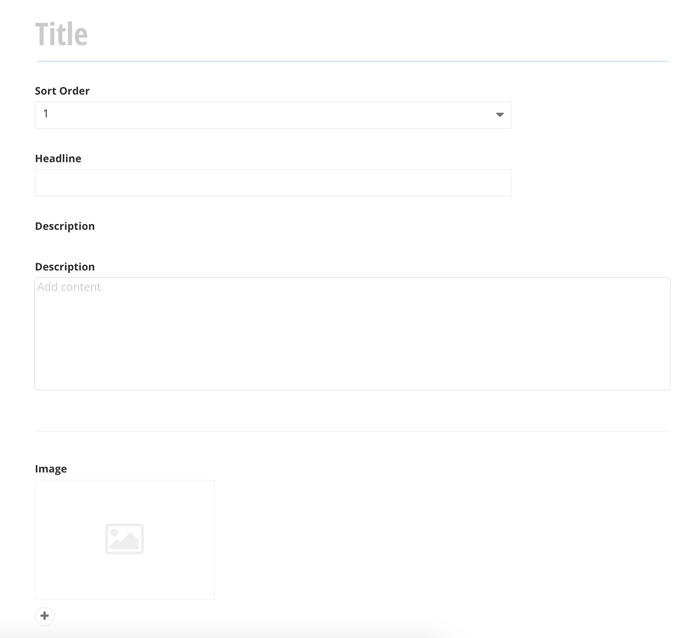
Provide a title, sort order, headline, description and image.
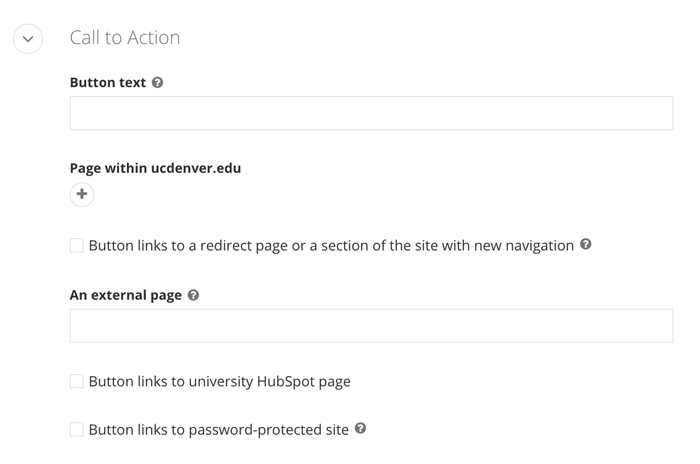
If you need to add a button, provide information in the Call to Action fields.
Publish.
Use the widget
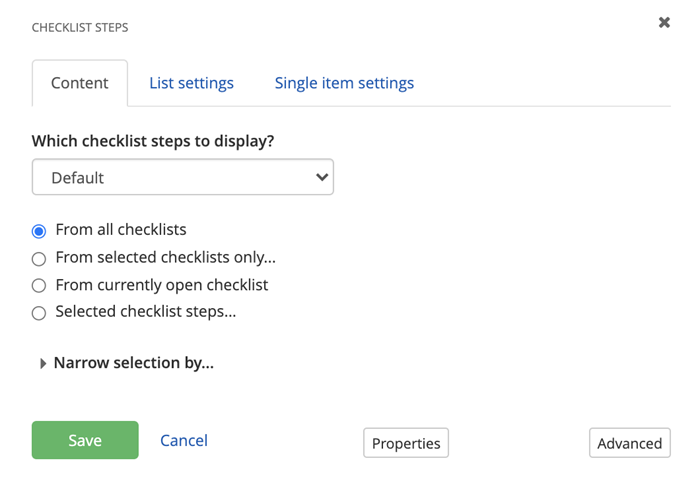
Drag and drop the Checklists Steps widget on to the page. All of the checklists will appear.

Select Edit and choose a checklist to display.
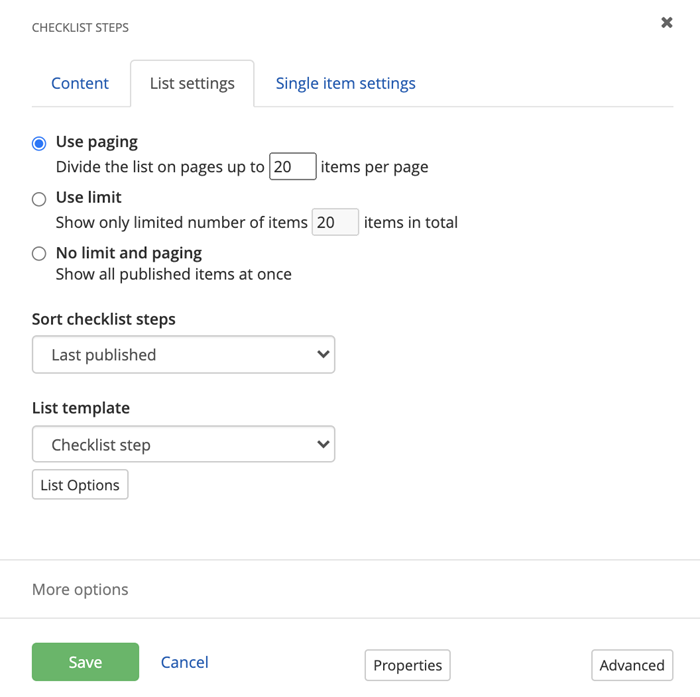
Select the List settings tab and click "List Options".
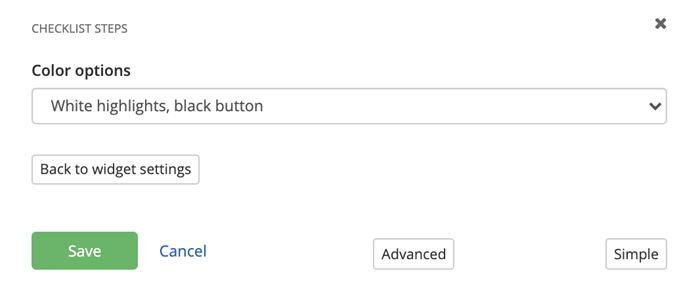
Choose a color option.
Save.